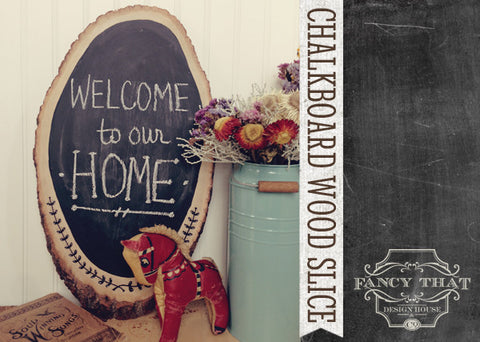
Wood Slice Chalkboard
February 19, 2013

I might be the only person that has yet to use chalkboard paint on anything.
Whether it be a whole wall, in a frame, on a pantry door – I really love it all, I just hadn’t painted anything with it.
That was until recently. And I started small.
We have wanted a chalkboard in our kitchen to write quick notes on but we don’t have a lot of wall space.
I enjoy incorporating outdoor elements into everyday indoor home use and I like that I’ve been seeing wood slices used for cake stands, centerpieces, coasters and more.
So after stumbling upon the perfect size wood slice I knew I wanted to turn it
into a chalkboard.
What You’ll Need:

– wood slice
(I found mine on Etsy. Some craft stores sell small ones or you could also find your inner Paul Bunyan and cut your own)
– chalkboard paint
– sharpie (or whatever color marker you would like, if you plan on drawing on your piece)
– pencil, paintbrush & primer (not pictured, whoops!)

Step 1 – sketch your drawing onto your wood slice.
Step 2 – use your marker and color in your sketch, erasing any leftover pencil marks.

Step 3 – Prime the area you want to paint with the chalkboard paint.
Step 4 – Once primer is dried, apply the chalkboard paint. Let dry and repeat.

We then added a simple sawtooth picture hanger on the back.
Now I just need to find a normal piece of chalk.
It isn’t easy to write anything legible with the boys’ giant sidewalk chalk.
The post Wood Slice Chalkboard appeared first on Fancy That Design House & Co..
Leave a comment
Comments will be approved before showing up.


